Remember: use at your own risk. If you’re not comfortable or knowledgeable working with electricity or other hazardous things, leave it to the professionals.
I purchased a used Coltri MCH5-EVO compressor in early 2016 from a guy in Canada; it was sold because the owners truck got totaled. The compressor had less than 100 hours on it, the cost was around $12,000 after shipping/freight.
Soon after purchase in early 2016, I used this compressor exclusively to fill two dedicated CNG Ford pickup trucks. Both were used as delivery vehicles and racked up high mileage.
The compressor currently has over 6,500 hours on it. The compressor runs on average about 12 hours a day. Oil changes have been done every 250-350 hours. Basic valve changes on the second and third stages are done at 1000 and 500 hours, respectively. The first stage valve seems good: I visually check it every 2000 or so hours, and it seems to be in good working order.
Over the last couple of weeks, I have noticed some noise coming from the compressor and discovered that the electric motor manufactured out of Italy by Elprom was on its way out. I called a few electric motor repair places to see if it could be salvaged, but had no luck.
I purchased a new 182T/184T frame 5 horsepower single phase 3600 rpm motor. It is a sealed non-sparking unit from WEG. The Elprom was 4 horsepower and ran at about 3300 RPM.
To shorten my fill times I increased the drive speed on this new motor by about 25% to 1600 RPM vs.1250. The old Elprom motor always ran quite high amperage, over 19a it also ran very warm - warm enough to cook your breakfast on. The WEG starts much easier and despite the overdrive always runs under 17 amps, and much much cooler, even after extended fill times.
The following is a brief synopsis of the transplant:
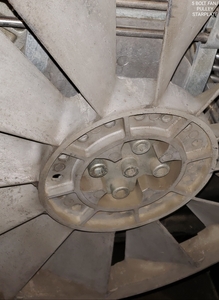
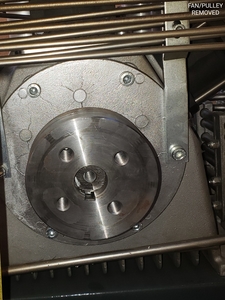
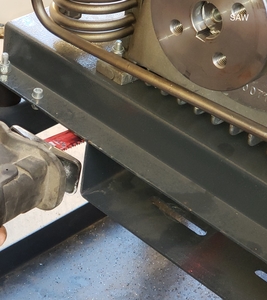
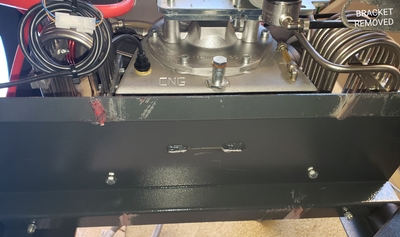
The Elprom motor is bolted upside down directly underneath the compressor block. After removing the motor, ground and the two hot wires from the control panel, I removed the compressor cooling fan/pulley from the compressor hub. This required the removal of the four large starplate bolts and the medium sized crankshaft bolt. I then cut out the old motor mount bracket with a Sawzall. I used a pair of vise grips to remove the vertical stabilizer plate from the center of the compressor located directly under the middle of the compressor block; this was accomplished by grabbing the plate and wiggling it back and forth until the welds weakened and snapped off. This allowed for more clearance for the new larger motor.
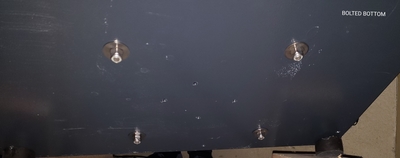
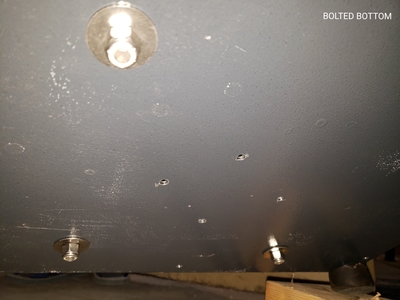
I then drilled approximately 10, 1/4" holes in the bottom pan of the compressor to facilitate drainage. My compressor is covered, but I wanted to insure that if any rain made its way into the cabinet it would be able to drain out the bottom. I then reinstalled the compressor fan/pulley back onto the hub.
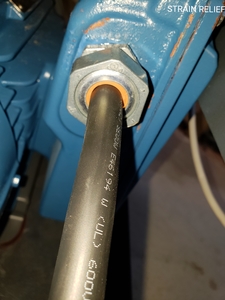
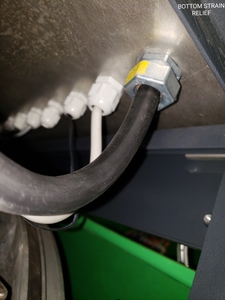
After installing 5 feet of 12 gauge 3 wire SOOW cord (less than $2.00 per foot at Home Depot) and 1" strain relief with sealant onto the heavy duty cast iron gasketed WEG conduit box located on the right side of the motor, I installed a 182/184T adjustable motor mount base. This makes belt changes much easier than the original setup, as you can easily move the motor to loosen and tighten the belt.
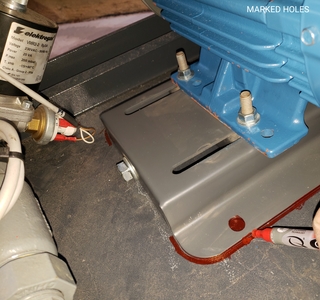
I then installed the motor with base plate into the frame and and marked the location where it aligned best with the compressor pulley.
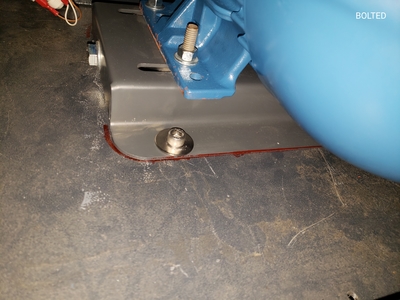
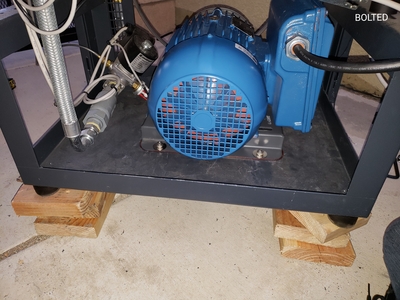
After marking the location I removed the motor w/ baseplate and drilled 4, 1/2" bolt holes to accommodate the base plate. I then reinstalled the the motor and secured with 4, 3/4" long, 3/8 stainless steel socket cap bolts with 2 large diameter stainless steel washers on each side, securing on the bottom with stainless steel nylock nuts. the larger 1/2" holes allow for slight adjustability, this allows for minor tweaking in case the belt is not perfectly aligned.
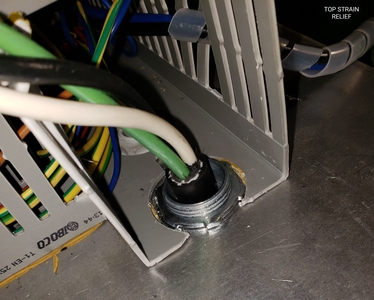
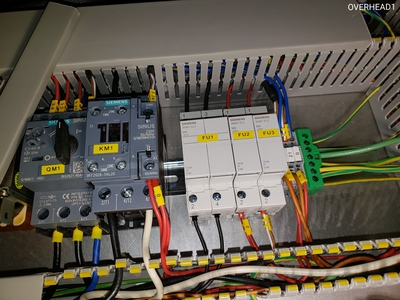
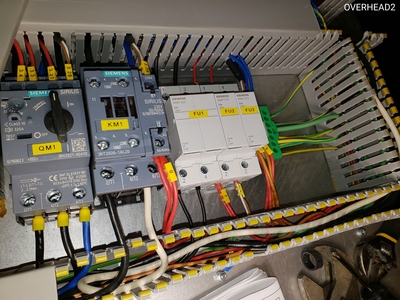
I then installed a new 3/4 inch strain relief in place of the original due to the new cord being slightly larger in outside diameter then the original cord. This is located in the top right corner of the electronics mounting board.
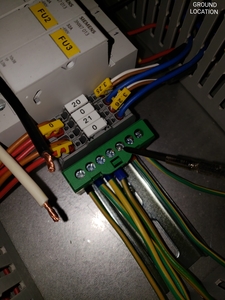
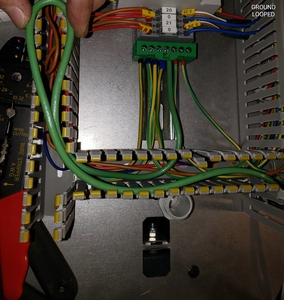
Then, I installed the ground cable pointed out here with screwdriver and looped it as seen, just as the original ground cable was routed.
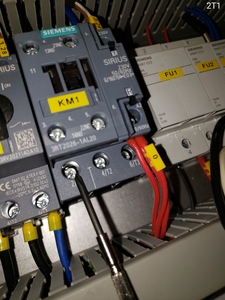
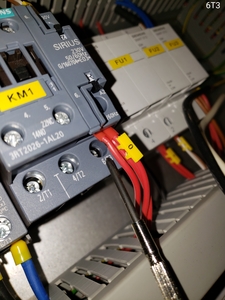
I then installed the two hot wires in the 2/T1 and 6/T3 location.
I needed a slightly larger belt (A-70) due to the new motor location.
A-70 Belt Purchased from Amazon
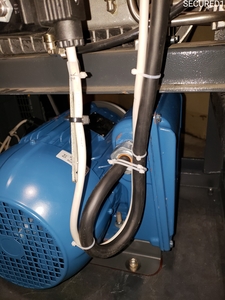
Finally, I secured the wires together similar to how it was from the factory. and reinstalled the panels.
The compressor runs exceptionally well, running amperage is just under 17 amps at around 3600-3800 PSI. At 230V the motor is rated for up to 21.85 Amps. I expect more compressor wear due to the added RPM, however the compressor has already paid for itself in the fuel I have saved.
Altogether, the cost of the new motor and parts was under $650. I have a new high torque XPFC motor that I plan on installing that will be much quieter, but will cost 3 times the price I paid for this motor. It’s currently in production queue and is going to take 2-3 months for build and delivery. This was the best choice that was available until the better motor comes in.
https://www.mrosupply.com/motors/ac-motors/general-purpose-motors/5739676_00536es1e184t-w22_weg/
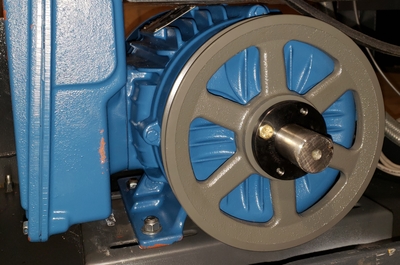
This is the pulley and hub on the new motor.
Thank you for sharing
